今天要把 Navigation View 和 Table View 結合起來!
把 NavigationController 拉進 Storyboard
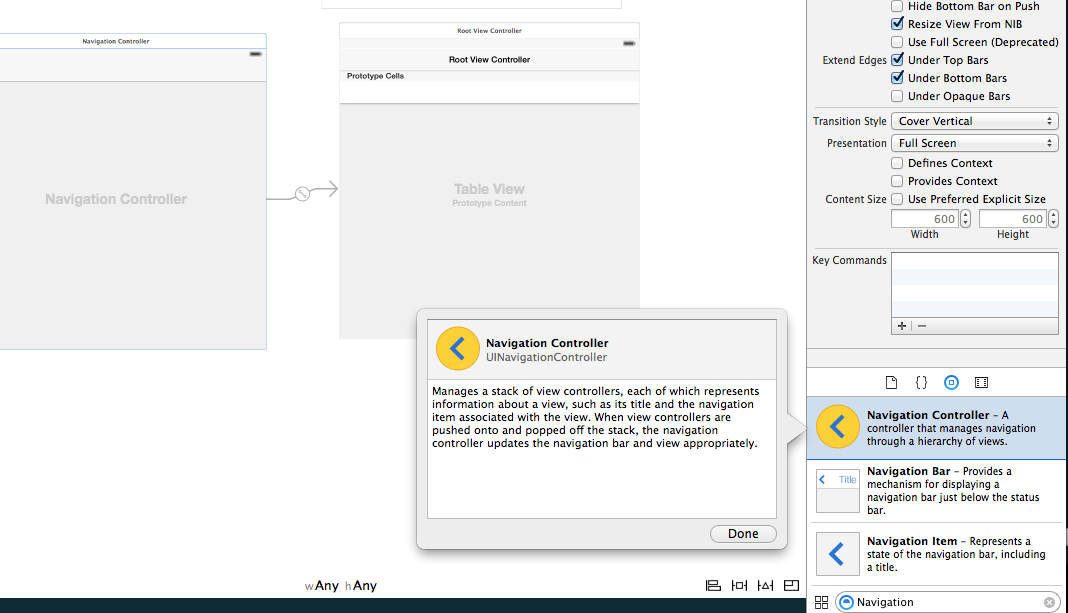
將程式進入點指向 NavigationController
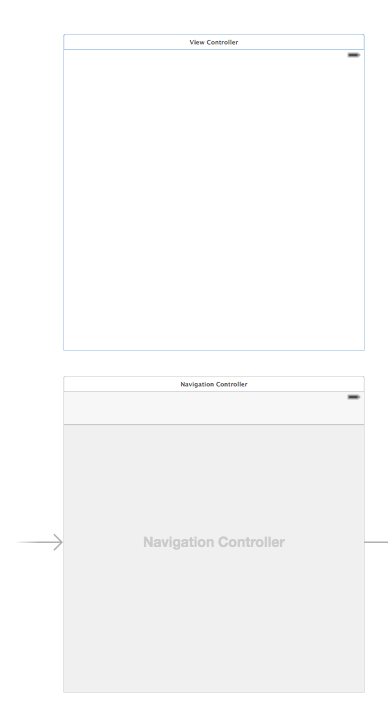
把原本程式自動產生的 UIViewController 刪除
把自動產生的 TableViewController 刪除!
拉一個新的 UIViewController
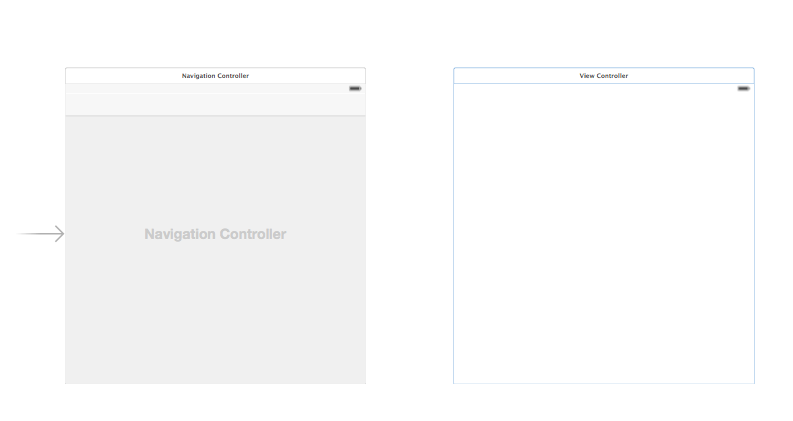
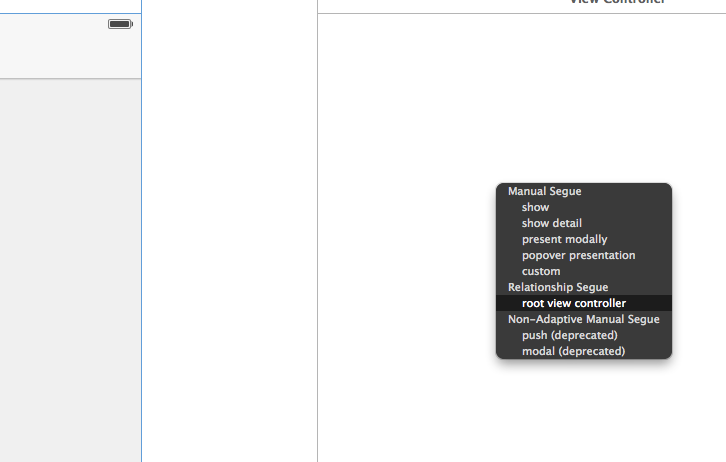
將 NavigationController 的 RootViewController 指向新的 ViewController
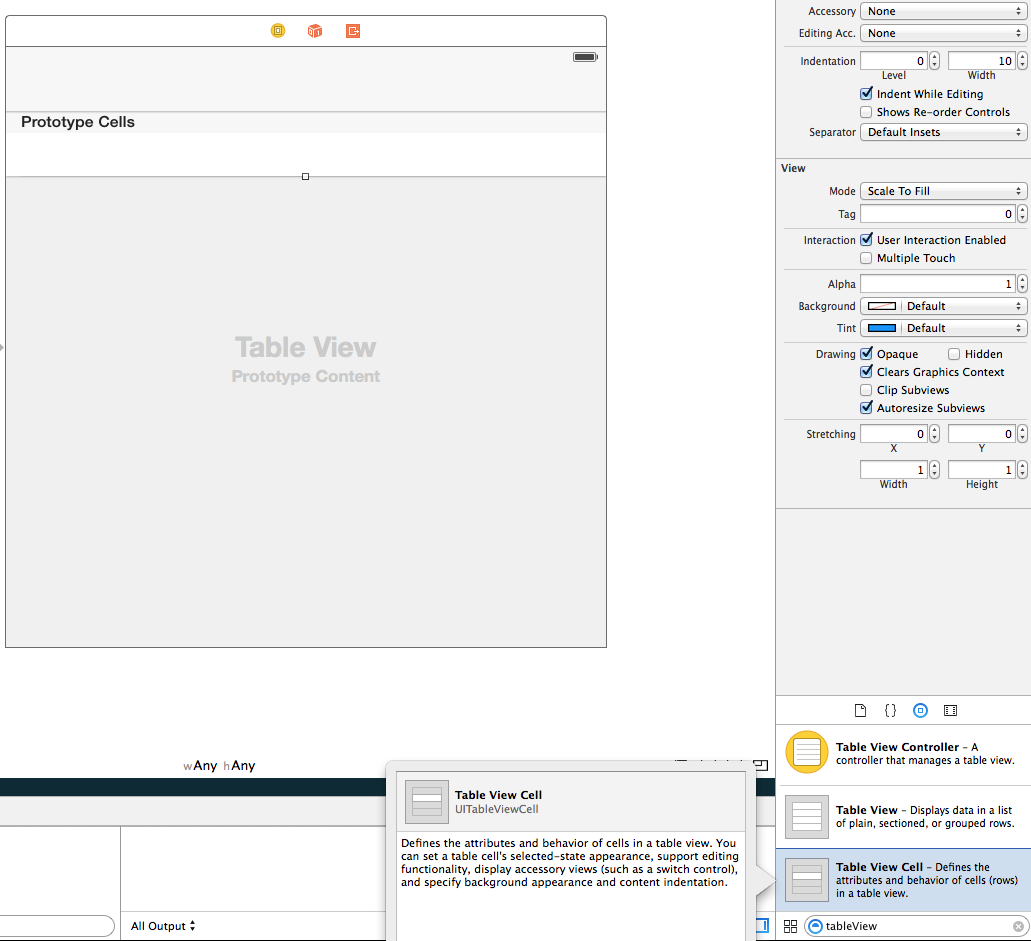
把 TableView 拉進 ViewController

再將 TableViewCell 拉進 TableView
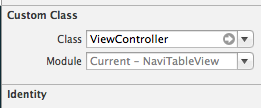
再點選 ViewController, 到右上角中找尋 Custom Class
將 ViewController.swift 指定給該 ViewController
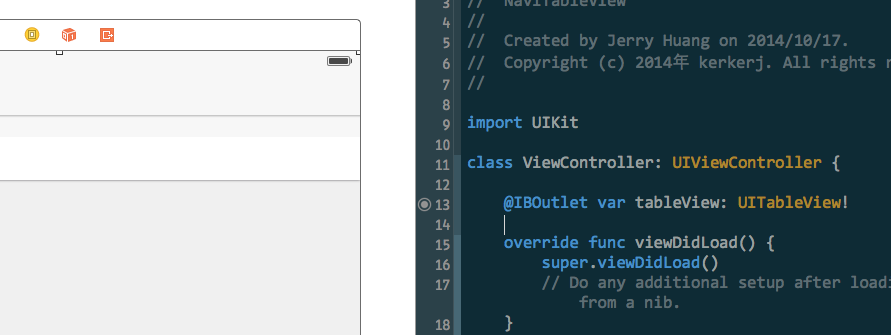
接著把 UITableView 引進程式碼裡做關聯
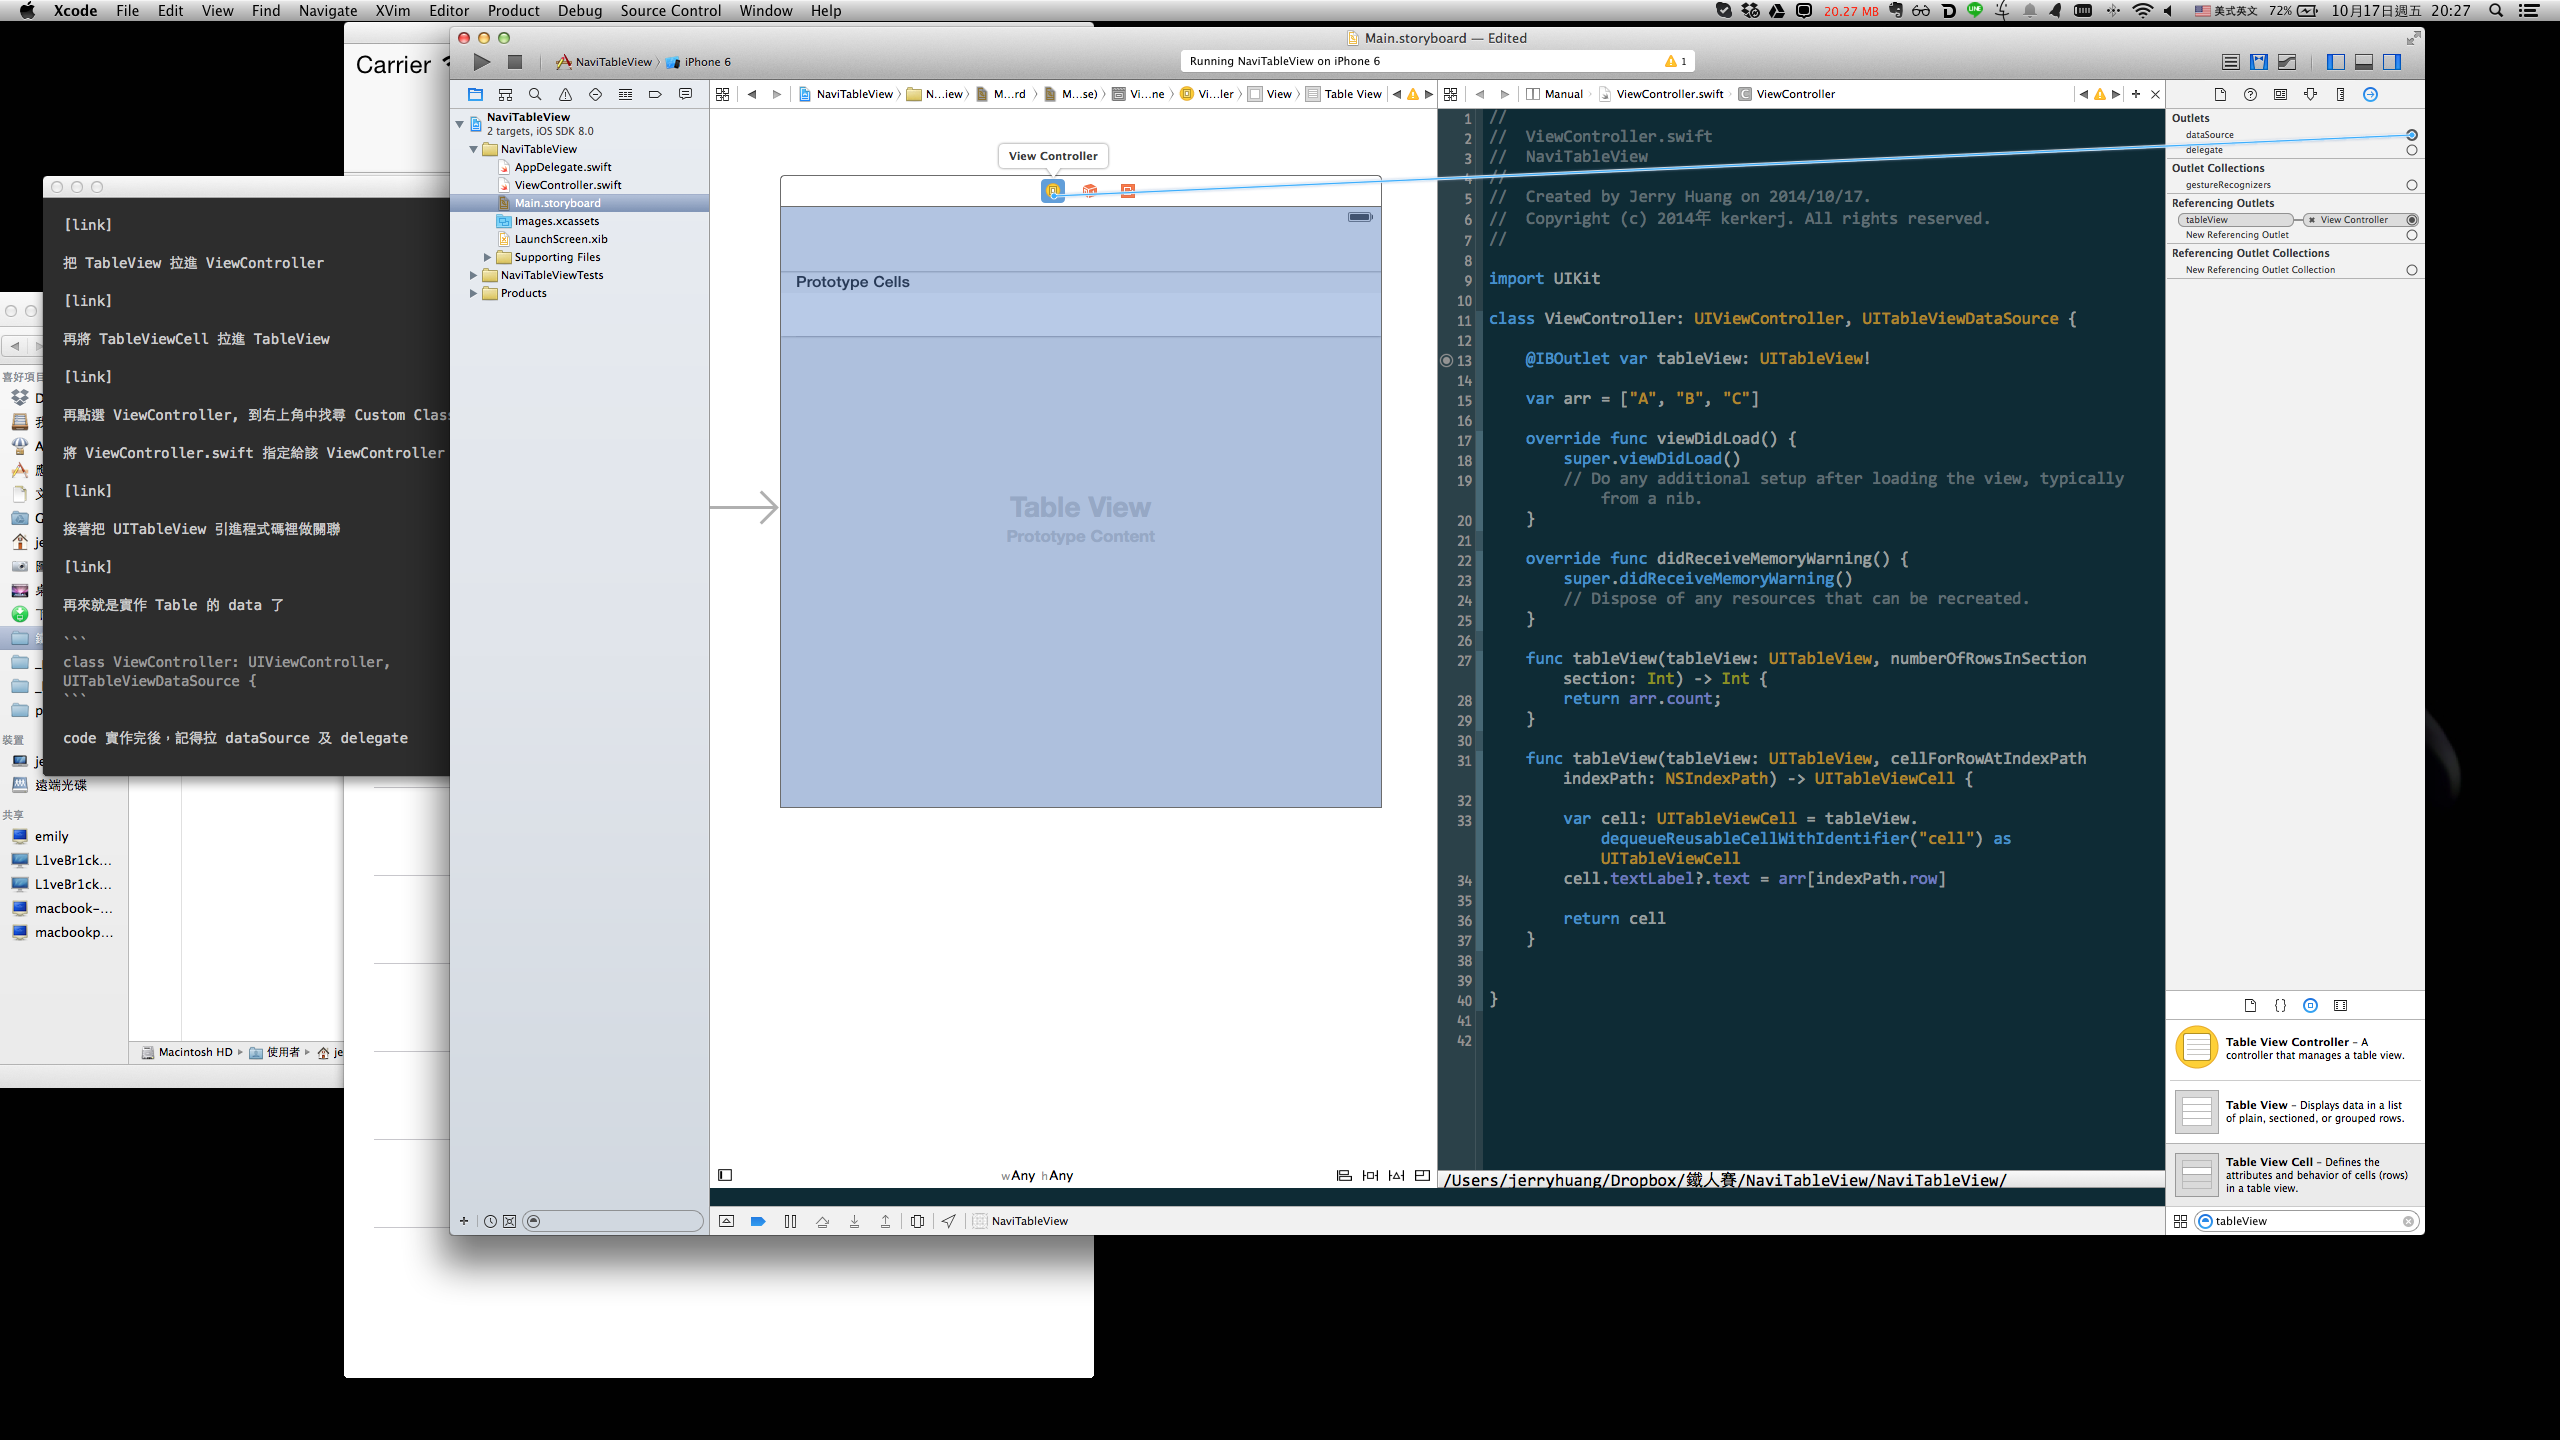
再來就是實作 Table 的 data 了
1
| class ViewController: UIViewController, UITableViewDataSource {
|
 1
 2
 3
 4
 5
 6
 7
 8
 9
10
11
12
13
14
15
16
17
18
19
20
21
22
23
24
25
26
27
28
29
30
31
32
| class ViewController: UIViewController, UITableViewDataSource {
@IBOutlet var tableView: UITableView!
var arr = ["A", "B", "C"]
override func viewDidLoad() {
super.viewDidLoad()
// Do any additional setup after loading the view, typically from a nib.
}
override func didReceiveMemoryWarning() {
super.didReceiveMemoryWarning()
// Dispose of any resources that can be recreated.
}
func tableView(tableView: UITableView, numberOfRowsInSection section: Int) -> Int {
return arr.count;
}
func tableView(tableView: UITableView, cellForRowAtIndexPath indexPath: NSIndexPath) -> UITableViewCell {
var cell: UITableViewCell? = tableView.dequeueReusableCellWithIdentifier("cell") as? UITableViewCell
if cell == nil {
cell = UITableViewCell(style: UITableViewCellStyle.Default , reuseIdentifier: "cell")
}
cell!.textLabel?.text = arr[indexPath.row]
return cell!
}
}
|
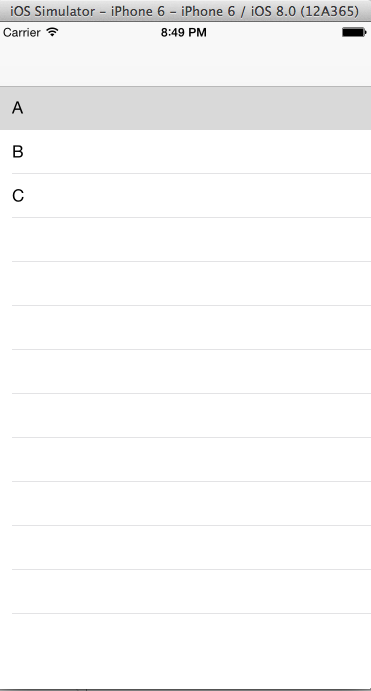
code 實作完後,記得拉 dataSource 及 delegate
執行後就是 TableView + NavigationController 了
接下來就要加入換頁:
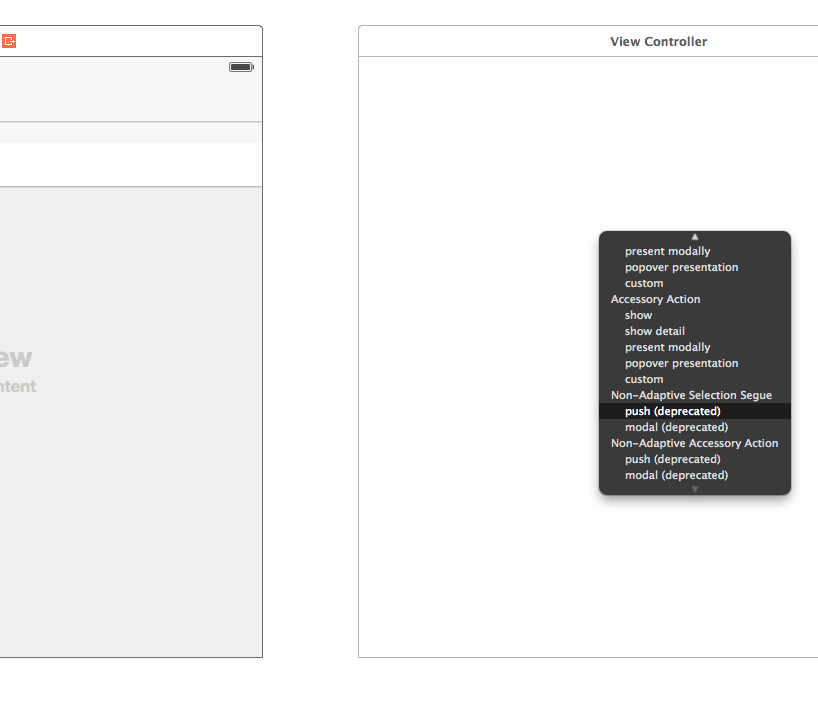
到 storyboard 再加入一個 ViewController,並從 tableView 的 cell 中建立連結到新的 ViewController
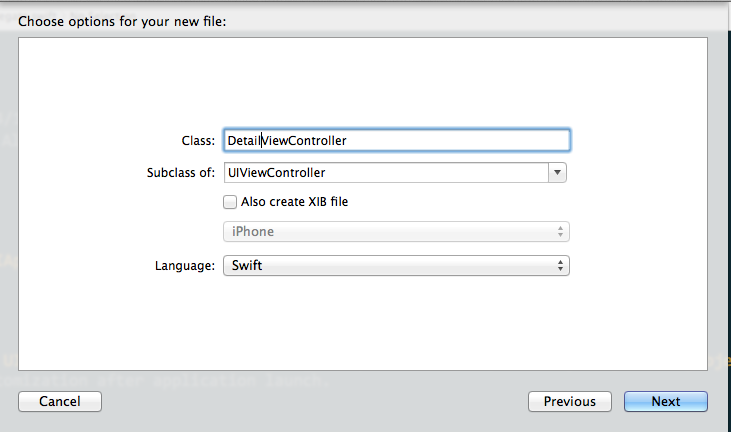
再來新增一個 DetailViewController, 用來顯示下一頁的資料
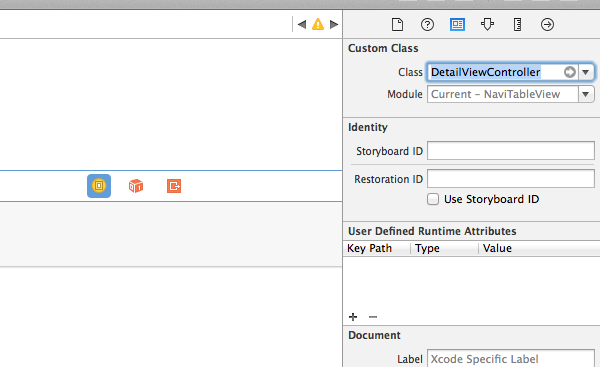
記得先去做 class 關聯
再來加入這個 function:
1
2
3
4
5
6
| override func prepareForSegue(segue: UIStoryboardSegue, sender: AnyObject?) {
if segue.identifier == "showDetail" {
let index = self.tableView.indexPathForSelectedRow()?.row
((segue.destinationViewController) as DetailViewController).title = arr[index!]
}
}
|
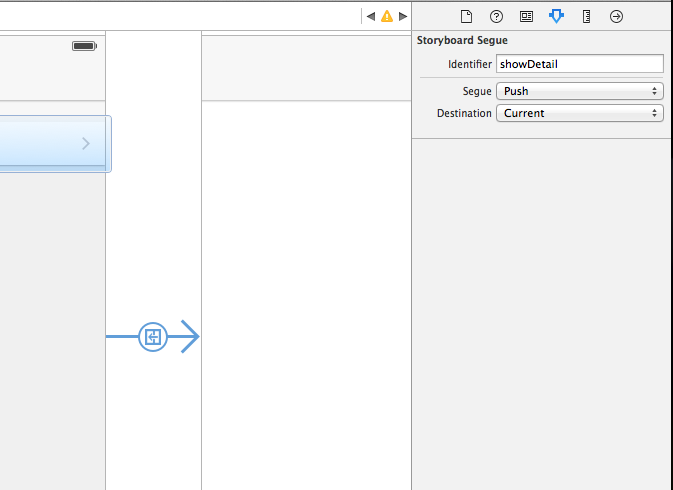
回到 storyboard, 點選 UITableView 和 UIView 中間的連線,設定 storyboard 的 identifier
設定為 showDetail 以便和程式一樣
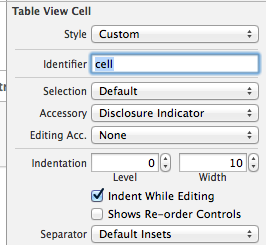
另外回到 Storyboard 中的 TableView, 設定 cell 的 identifier 和程式一樣
以便 reuse
接著都設定完畢後,就可以執行了!
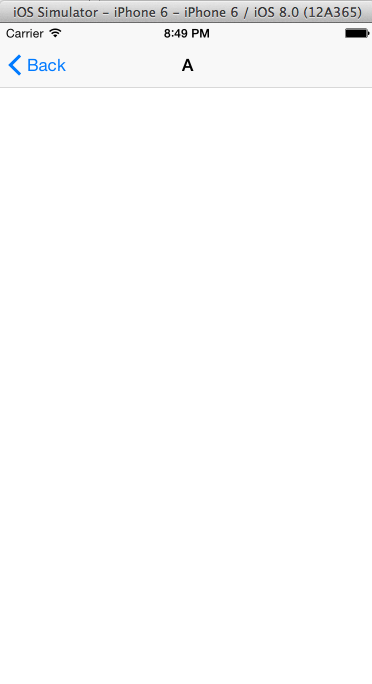
這樣就完成啦!